Simple Character Rigging
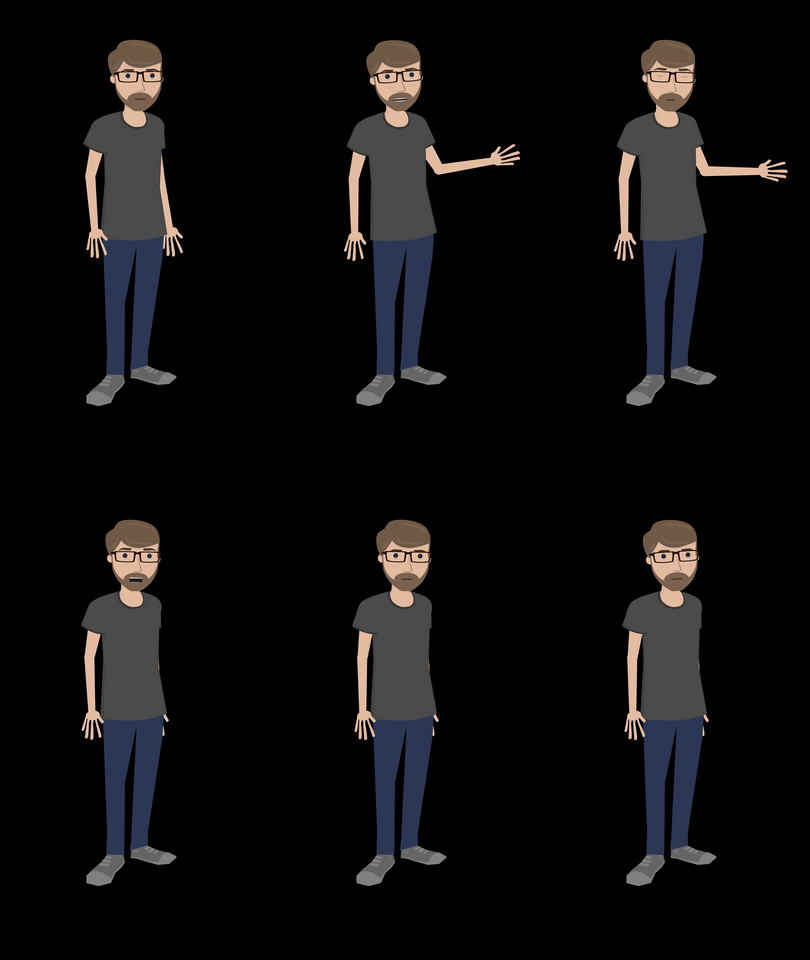
Now that we know how to parent objects, pre-compose layers, and adjust anchor points, we can move on to actual character animation. Let’s start with some simple pre-made figures – you can download a few at this link.
A simple puppet might have the figure’s arms, legs, head, and body on different layers. Complex puppets will break down the figure more and more – you might have separate layers for parts of the face, finger segments, clothing, and more. Basically, any part of the figure that you want to animate should be on its own layer.
You can import these layers individually, but After Effects is also very good at playing with files created in other Adobe programs. If you create your puppet in Photoshop or Illustrator, you can import those files with their layer structure intact. When you import an Illustrator or Photoshop file, simply change the Import As drop-down from “Footage” to “Composition – Retain Layer Sizes.” (The “Composition” option will work also, but I find “Retain Layer Sizes” easier to work with.) If you’re using a Photoshop file, another screen may appear with the option to keep or merge your layer styles – I tend to choose “merge.” Once you’ve imported the file, it will appear as its own composition with each layer separated out. If the file appears as a single piece of media instead of a composition, double-check your import settings.
With the puppet imported, you’ll want to begin parenting the different parts together – but first, you should think about each layer’s anchor point. As we discussed previously, a layer’s anchor point is the point around which the layer scales and rotates. Since we’ll be doing most of our animation using the rotation property, the anchor point is important. For example, a hand rotates around the wrist, the forearm rotates around the elbow, and the upper arm rotates around the shoulder. You can use the “pan behind” tool (its icon has four directional arrows in a dashed box – the shortcut is Y) to grab and move anchor points to their appropriate locations.
You can then parent the layers accordingly – in this example, the hand is parented to the forearm, the forearm is parented to the upper arm, and the upper arm is parented to the torso. If you do this correctly, rotating the forearm will also move the hand and rotating the upper arm will move all three. I realize that this is probably difficult to visualize, so take some time to play with parenting and anchor points. Imagine your puppet is a marionette and think about where the hinges should be – that’s where your anchor points go. Once the anchor points have been set and the layers have been parented, you can begin animating the puppet by rotating and moving the layers. Don’t forget to turn keyframes on for any properties you want to animate!


One benefit to creating your puppets in Illustrator (or using shape layers within After Effects) is that the puppet can be scaled up infinitely without losing quality. That’s because Illustrator is a vector-based program, as opposed to something like Photoshop, which uses pixels. To enable this ability (it is turned off by default), you need to check a box in the timeline that looks like a little sun – if you hover your mouse over it, it will say “For vector layer: Continuously Rasterize.” For pixel-based artwork, you will start to lose image quality as you scale up, but you can control how After Effects processes the image using the column next to the sun that looks like a pixelated diagonal line.

Puppet Pins
While animating using the transform properties can achieve very sophisticated results, the animated characters can sometimes look a little stiff. When we watch a cartoon, we are accustomed to seeing things move in “elastic” way: stretching as they build up speed and squashing when they land. We can achieve this effect in After Effects using Puppet Pins.
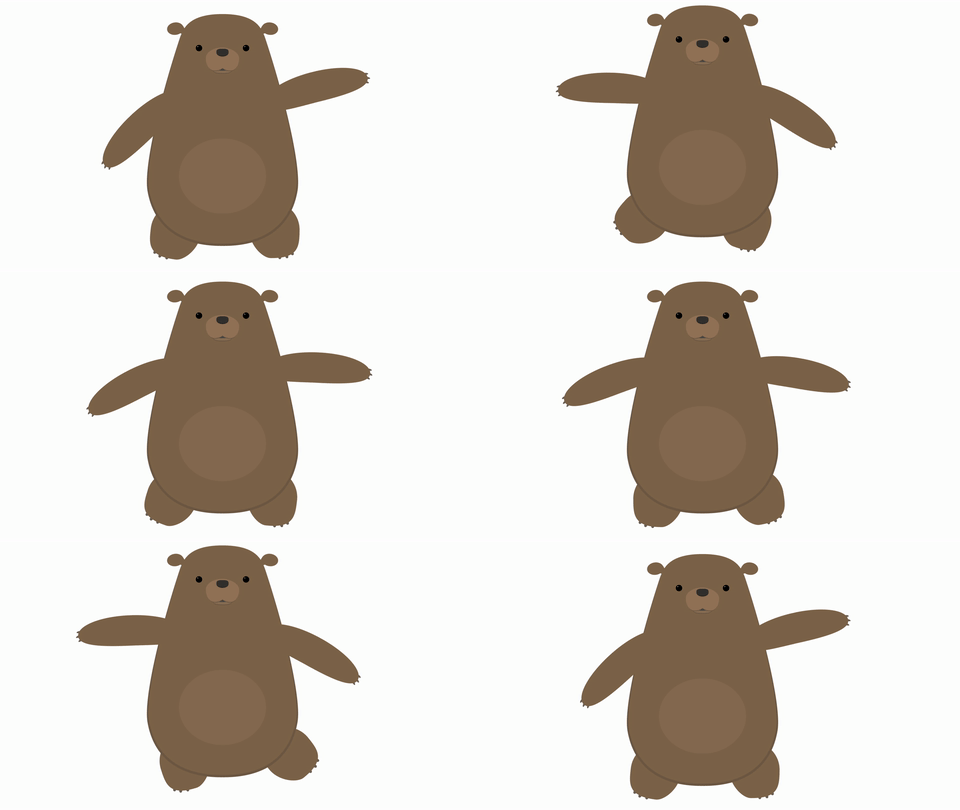
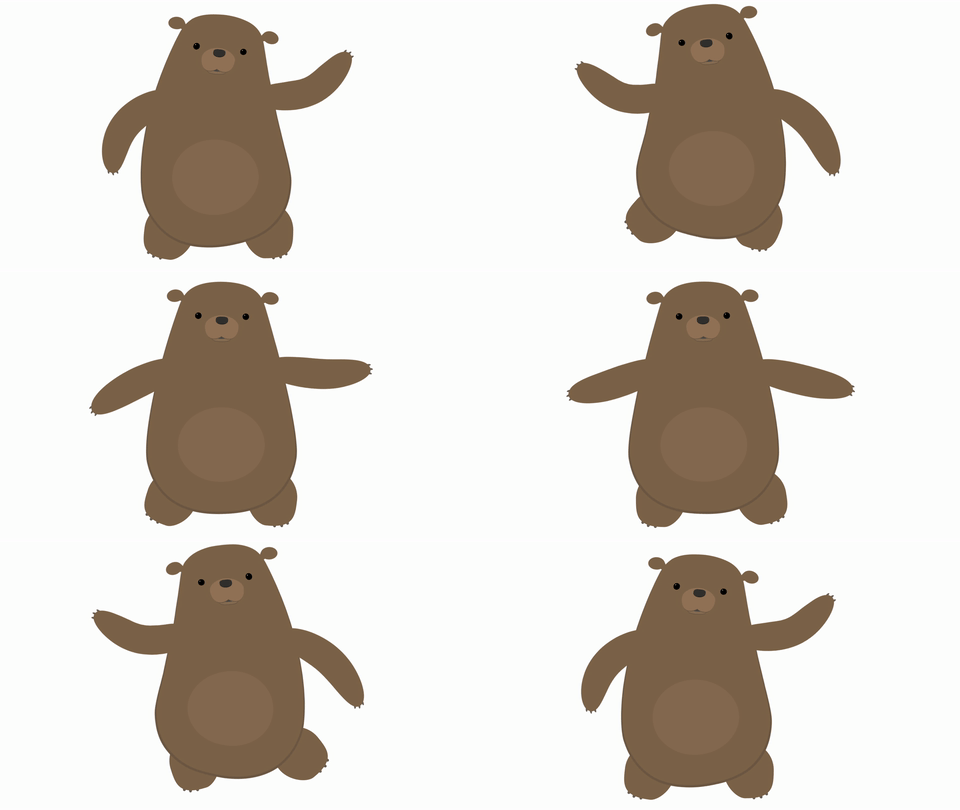
Set up your character in the same way we went over last time: position the anchor points on the joints, move the layers into position, and parent everything appropriately. Once everything is in place, it’s time to add some pins.
Puppet Pins are a tool for deforming layers. When you add pins to something in After Effects, the program generates a “mesh” over the object. When you move a pin, that mesh shifts and the layer is deformed. If you move a pin too much, you’ll get some funky results; the image will stretch too much and begin to tear. Moving a pin just a bit can give some really interesting results, though.
To start adding pins, select the Puppet Pins tool from the menu bar at the top of the screen – it’s the one that looks like a pushpin. In the timeline, select the layer you want to add pins to, then click on the layer in the composition panel to add a pin. You should see a yellow dot appear where you clicked.
Every pin you add will “pin down” a part of the object. That means that the more pins you add, the smaller the area that each pin will affect. My general rule is to add three pins to each part of the puppet I want to animate in this way. On an arm layer, I might add a pin near the shoulder, one near the elbow, and one near the wrist. On a leg layer, I might add one near the hip, one near the knee, and one near the ankle.
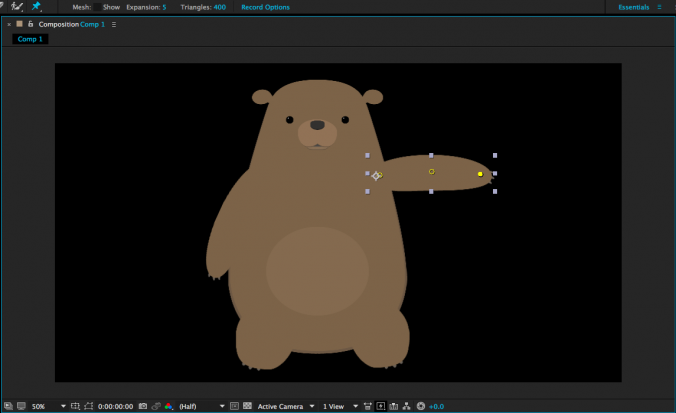
Pins have keyframes turned on by default, so you will add a keyframe every time you move a pin. However, you can still move or rotate the layer itself without adding pin keyframes. I like to add pin keyframes to accentuate movements; for example, I might add pins to a swinging arm to give the movement some elasticity. Note that pins are not affected by parenting layers to each other – they move independently. If you can’t see the pins, you can highlight the layer and click on the Puppet Pins tool again, or find the Puppet section of the layer in the timeline.
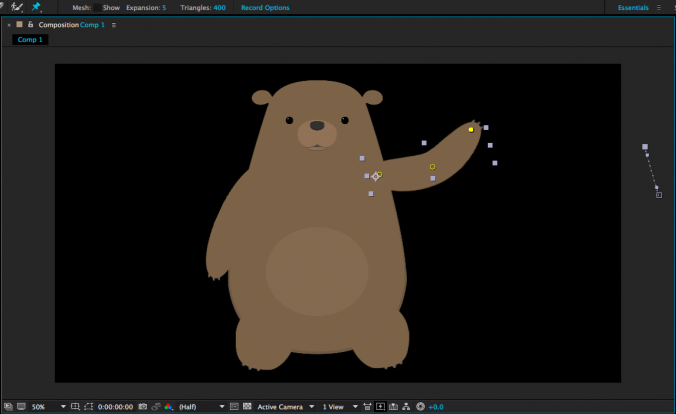
Occasionally, your pin may pull the layer apart in an unexpected way. This is usually because the mesh that the tool generates is not covering the entire object. When you have the Puppet Pins tool active, you should see some options next to the tool icon at the top of the screen. Clicking “Show” box next to “Mesh” will reveal the mesh that is being generated to deform the layer. If your mesh is cutting off part of the object, either add triangles or increase the “Expansion” property.
Puppet Pins open up lots of new creative possibilities. Use them to make your animations seem even more alive!

Project 8: Bring a Character to Life
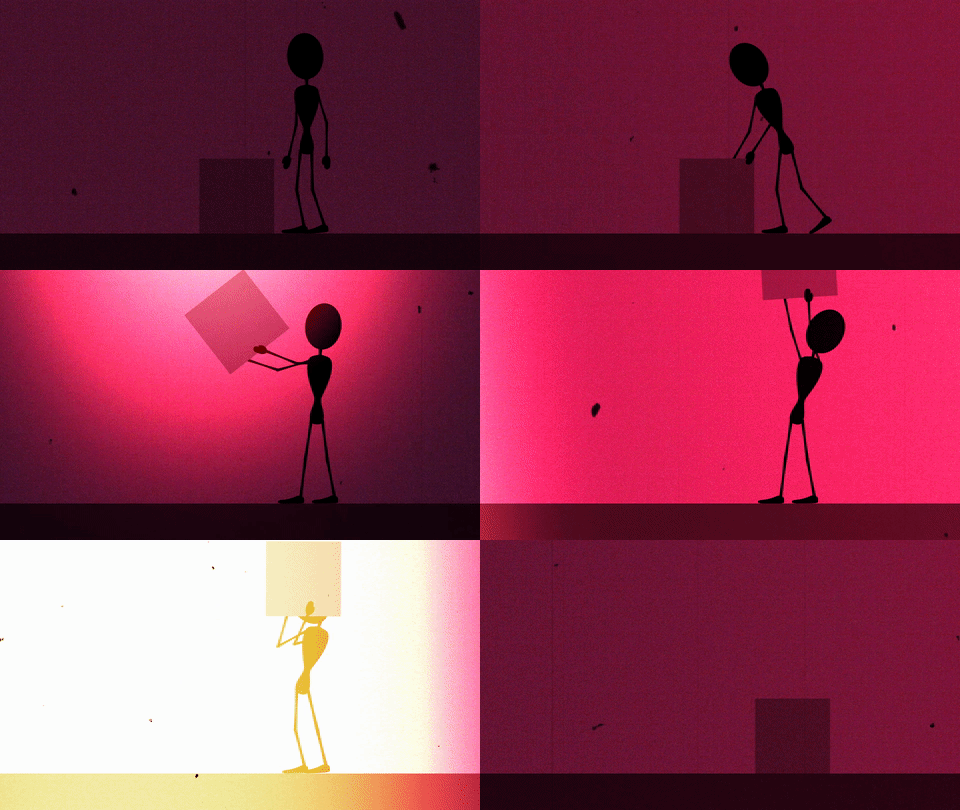
This week, I’d like you to start experimenting with character animation. Download the sample files and create a five to ten second scene with the character (or characters) of your choosing. Try either traditional keyframes, puppet pins, or both. If you want to create your own character, don’t worry – we’ll be covering that next week. As usual, render it as a QuickTime movie using the H.264 codec, upload it to your Google Drive, and send me a download link. Have fun!
