Easy-Ease It
This week, we’re going to dig deeper into After Effects – specifically, keyframes. In the previous lesson, we discussed how to add objects to a composition and keyframe their basic properties, such as position, scale, and rotation. That lets us do a lot, but to make animation really seem alive, we need to move beyond the basics. Before we get started, let’s review some of the principles of animation, as explained by Alan Becker.
Slow In, Slow Out
The ability to keyframe and animate properties is probably After Effects’ most powerful feature; however, that animation may look a little stiff and unnatural at first. For example, if you use two “normal” keyframes to move a shape across a composition, the shape will begin moving abruptly, travel at a constant speed, and then stop abruptly. Sometimes, this is the desired effect, but it’s not how things usually move in the real world. Fortunately, After Effects makes it simple to make animation more natural and dynamic.
By default, keyframes in the timeline are diamond-shaped. This is a standard “linear” keyframe. If you right-click on a keyframe and move down to the “Keyframe Assistant,” you’ll see three “Easy Ease” options: Easy Ease, Easy Ease In, and Easy Ease Out. Easy Ease Out “eases out” a property, meaning it will start slowly and then build up speed. Easy Ease In “eases in” a property, meaning it starts fast and then slows down. Easy Ease is used for keyframes where you want a property to start fast, slow down, then pick up speed again. When you choose one of these options, the shape of the keyframe will change: Easy Ease Out is an arrow pointing left, Easy Ease In is an arrow pointing right, and Easy Ease is basically the other two icons combined.

Easy Ease sounds complicated, but it should quickly make sense once you start playing with it. It’s really an essential tool in After Effects; it makes animated properties – especially movement – seem much more natural. If you’re having a hard time with it, my general rule is this: use Easy Ease Out on the first keyframe in an animation, Easy Ease In on the last keyframe, and Easy Ease on the keyframes in between. If you aren’t sure what to use, the regular Easy Ease is probably your best bet.
If you want to switch back to a standard linear keyframe, you can command click on it and its shape will change. If it turns into a circular shape, command click on it again, until it is back to a diamond.

Here is the same piece of animation, first with regular keyframes, then with eased keyframes:


Changing the Position Path
As we discussed last week, many transform properties can be manipulated either in the timeline or within the composition window. For example, if you animate an object’s position in the timeline, you should see those keyframes appear as a path in the composition window. The keyframes themselves are little squares and the dots along the path represent individual frames. You can get a sense of how fast or slow movement is happening based on how close together the dots on the path are.
From within the composition window, position keyframes can be moved just by clicking and dragging. If you click on a keyframe, you will also see curve controls. These can also be clicked and dragged to change the position path of a moving object. If you alt/option click, you can move the curve controls individually. If you select the pen tool (G) and click on a keyframe, it will remove all curves from that part of the path.
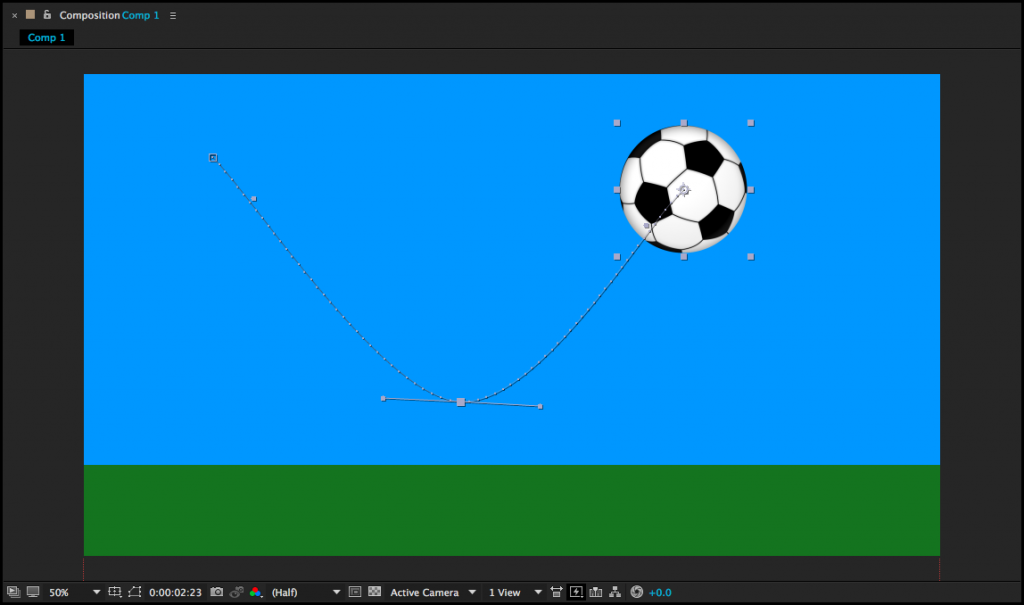
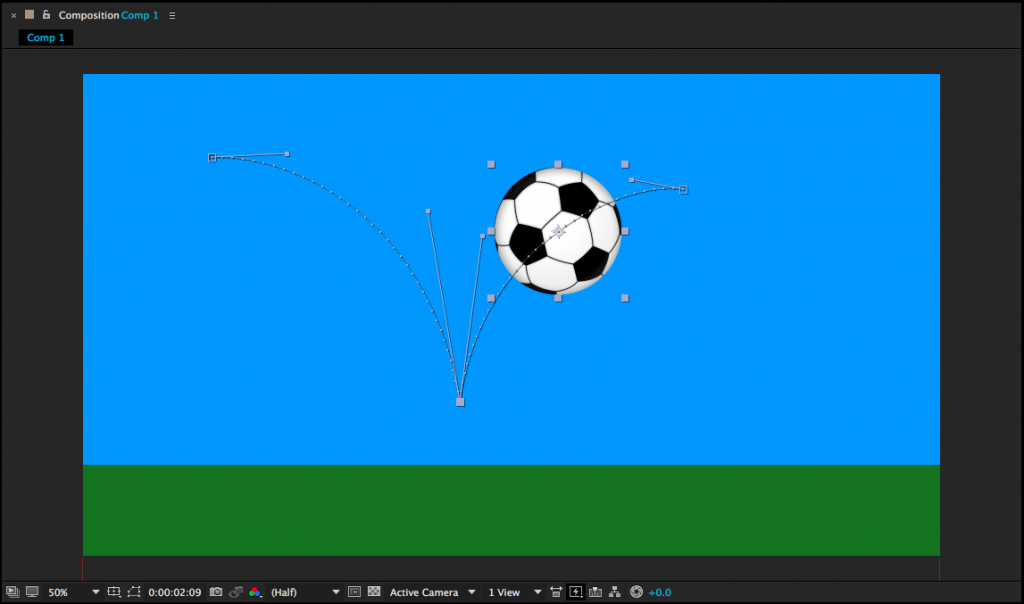
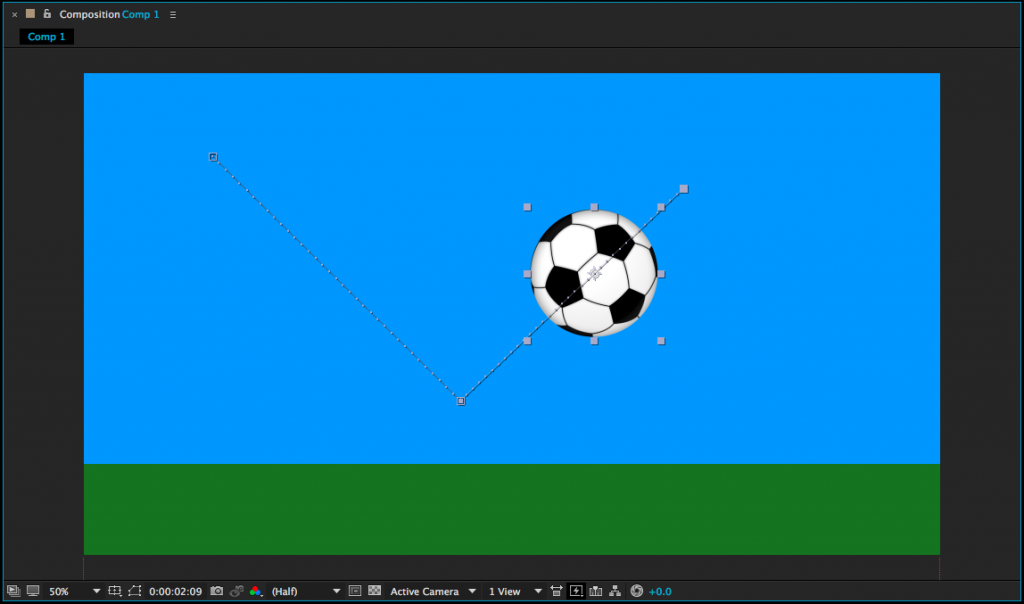
Manipulating keyframes using Easy Ease and curves can help make your animations feel more natural and fluid. Be sure to experiment with these techniques – and remember to consider the basic principles of animation.
Layer Trimming
One very basic action that we haven’t covered yet is the editing of a layer’s in and out-points. By default, the entire length of a piece of media is dragged down into a composition and you may have noticed that there is no razor blade tool in the After Effects toolbar. Instead, to trim the beginning of a layer, move the playhead to the desired in-point and hit option [. Option ] will set the end point. (Use alt on a PC.) You can also click and drag on the ends of layers in a composition.
If you don’t hold down option, the [ and ] keys will move the layer without trimming it. [ will move a layer so that its in-point is at the playhead location. ] will move a layer so that it’s out-point is at the playhead. These shortcuts allow you to adjust the length and position of layers in the timeline very quickly, once you’re accustomed to using them.
When you’re moving or trimming layers, it’s obviously important to have your playhead exactly where you want it in the timeline. You can use the spacebar to play or move the playhead by clicking and dragging it with the mouse. For precision, you can use page up and page down to move frame-by-frame forwards and backwards. This is different from Premiere, which utilizes the arrow keys to move the playhead; in After Effects, the arrow keys adjust the position of the highlighted layer. If you hold shift and press page up or page down, you will move the playhead ten frames instead of one.
You will also probably need to duplicate layers fairly often in After Effects. This can be done by copy/pasting, but you can also use the Cmd+D keyboard shortcut. You can actually use Cmd+D to duplicate all sorts of things in After Effects: shapes, text, entire compositions, and even effects.
One last note about layers: if you double click on a layer in the timeline, it will open that layer in a panel over the composition preview window. This is actually not where you usually want to work, so if you accidentally double click on something, close the layer panel or click back to the composition preview window.
Timeline Length
When you create a new composition, you are asked to define its length. If you need to change the length of the composition, you can do so by going to Composition>Composition Settings… or using the Cmd+K keyboard shortcut. Changing the duration in the composition settings window that appears will either add or subtract time from the end of the composition. However, you can also trim the composition down from within the timeline panel.
At the beginning and end of the timeline, you’ll find blue handles – these define the “work area.” (There are actually two sets of blue handles – the smaller ones can be used to zoom the view of the timeline in and out.) You can think of the work area handles as After Effects’ equivalent of an in and out point. If you drag the work area handles to the section of the timeline you want to keep, then right-click on the lighter area directly between them, you’ll see a few options appear. Select “Trim Comp to Work Area” to remove everything outside the handles and shorten the length of the composition.

Project 4: The Bouncing Ball
You may have noticed that a bouncing ball is used a lot in lessons about animation. That’s because it’s a simple action that clearly and concisely illustrates the basic principles of motion – and animation.
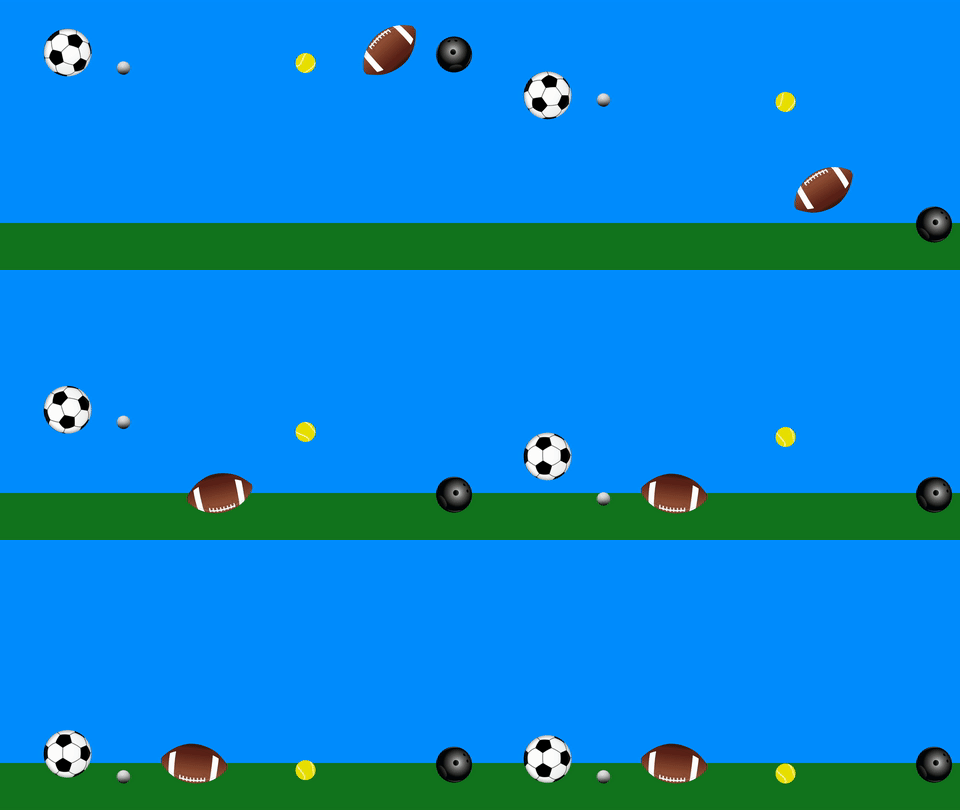
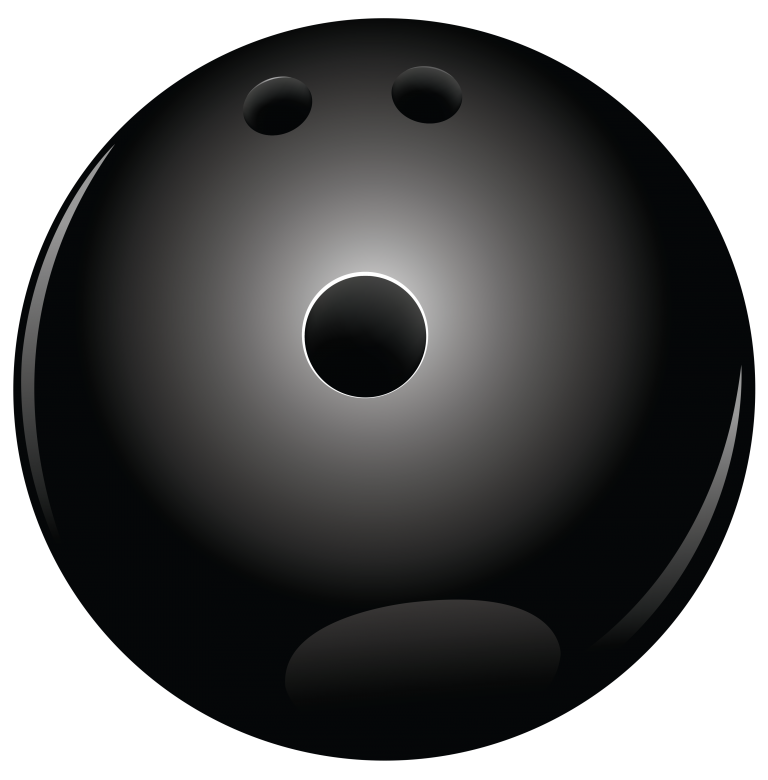
For your next project, download two or more of the graphics below. Your goal is to create a short animation that shows the properties of the kinds of balls you choose. A golf ball should bounce higher than a bowling ball; a football will ricochet differently than a tennis ball will; air resistance will affect a beach ball more than a soccer ball – you get the idea. You can use solids or shape layers to create surfaces for the balls to interact with.
Here are the specific parameters:
- Create a composition using the HDTV 1080 24 preset. It should be between three and five seconds long, although you may go longer if you want to get elaborate.
- Animate at least two different kinds of balls. They should interact with their environment in some way, such as bouncing off the floor.
- Export your finished video as a Quicktime movie, using the H.264 codec.
- If you finished video is small enough to email, send it to me directly. Otherwise, you may need to upload it to your Google Drive and send me a download link.
Have fun!


