Extra Special Effects
There are a lot of effects built into After Effects and countless more can be added using third-party plugins and scripts. While there are far too many to discuss them all individually, I thought it might be useful to take a look at a few of them more closely. Here are a few “must know” effects – and a couple that are just fun to play with.
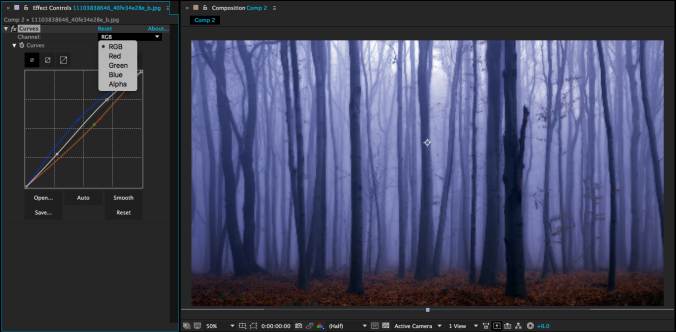
Curves (Color Correction)
Curves is a simple, but powerful tool that you may already be familiar with if you have experience with photo editing. Curves gives you control over the color information in an image or video by letting you adjust the red, green, blue, and alpha channels, as well as the overall saturation and brightness. You simply choose the channel you want to adjust, then click and drag points on the appropriate line. A small adjustment goes a long way with this effect – dragging a line all the way to the top or bottom of the graph will probably give you pretty bizarre results. If you want a simpler method of color correcting something, there are also effects for Brightness & Contrast and Hue/Saturation in the Color Correction section – but I think Curves gives the most control.
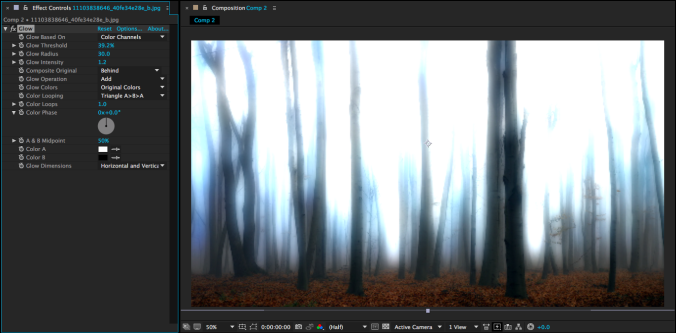
Glow (Stylize)
This is an effect that’s easy to overuse, because it often just makes things look cooler. Adding Glow produces a soft aura around the bright areas of an image. The “Glow Threshold” determines how bright something needs to be for the glow to appear – so to make more of the image glow, you actually set the threshold to a lower percentage. You can also adjust the radius, intensity, and color of the glow to dial in the exact look you are going for.
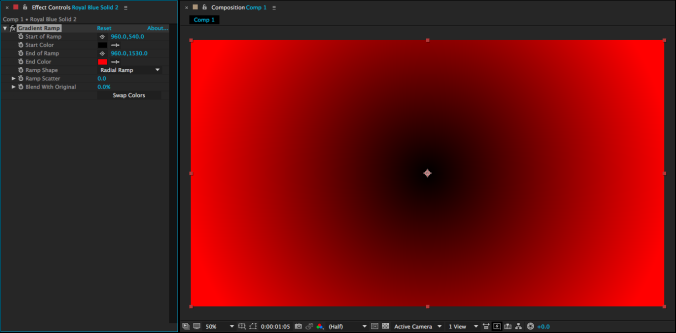
Gradient Ramp and Fill (Generate)
Both Fill and Gradient Ramp are simple effects that get used a lot. Adding Fill to any layer will cover that layer with the solid color of your choice. So, if you wanted to create a silhouette version of a character you were animating, you could pre-compose the character’s layers and apply a dark grey Fill to the resulting composition. Gradient Ramp does the same thing, but uses either a linear or radial two-color gradient instead of a solid color. You can use Gradient Ramp to quickly add a bit of visual interest to an otherwise plain background. Changing the start and end points of the Gradient Ramp affects where one color stops and another begins.
Fractal Noise (Noise & Grain)
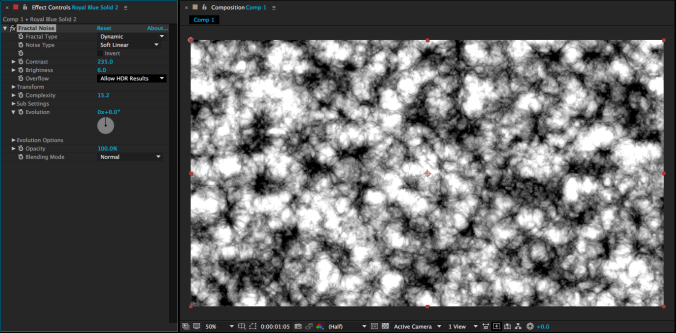
Much like the Gradient Ramp and Fill effects discussed above, adding Fractal Noise to a layer covers that layer completely. However, instead of a simple color or gradient, Fractal Noise creates a complex black and white noise pattern on the layer. Changing the “Fractal Type” will allow you to generate a variety of patterns – some are blocky, some look like smoke, some look like television static. You can adjust the contrast, scale, and more, but the real magic of Fractal Noise comes from animating the “Evolution” property of the effect. This causes the noise to change dynamically, which gives really interesting results. Fractal Noise is a great effect to use when you want to give a project some texture. Create a solid on top of your composition, add the effect, then change the transfer mode and/or opacity of the layer so that it is barely visible – the result can be really striking. Fractal Noise has tons of other potential uses as well; you could use it to simulate smoke or water, create a unique background, or combine it with other effects.
Gaussian Blur, Fast Blur, and Camera Lens Blur (Blur & Sharpen)
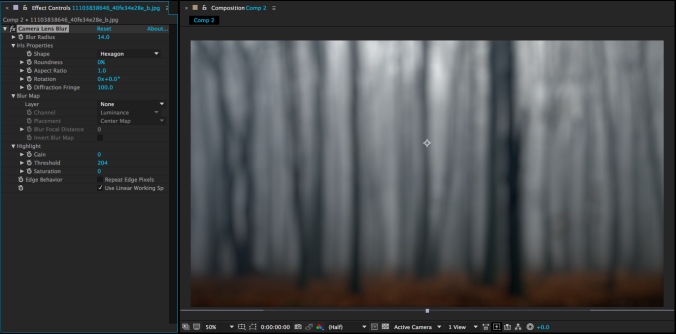
There are several blurring effects in After Effects, but I use these three the most. Gaussian Blur and Fast Blur are basically interchangeable – they are simple blur filters that don’t take too long to render. For a long time, Fast Blur was my go-to because it rendered (imagine this) faster, but recent versions of After Effects have improved the speed of Gaussian Blur and moved Fast Blur to the Obsolete category of effects. It still works well, though. For the absolute best results, however, I would recommend Camera Lens Blur. This effect does a much better job of recreating the kind of blur you get from an out-of-focus camera lens; points of light, for example, are rendered more realistically using Camera Lens Blur than Gaussian Blur. The downside of Camera Lens Blur is that it is much more processor-intensive and will slow your computer down more than the other options. One thing to note with all of the blurs is that the edges of the layer you are blurring will soften along with the rest of the image unless you check the “Repeat Edge Pixels” option.
Offset (Distort)
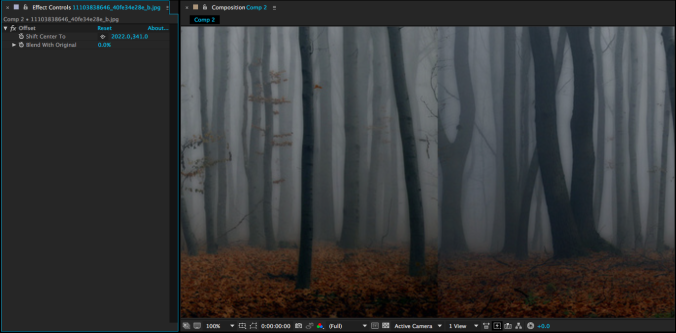
Offset is a very cool effect that can be used for things like endlessly looping backgrounds. When you apply it to a layer, you can keyframe to “Shift Center To” property to scroll through endless copies of that layer. If you do this to a layer that is seamless on either the left and right or top and bottom, you’ll have a nice infinite loop. This is a great way to do something like clouds floating by continuously in the background of your shot.
Audio Waveform (Generate)
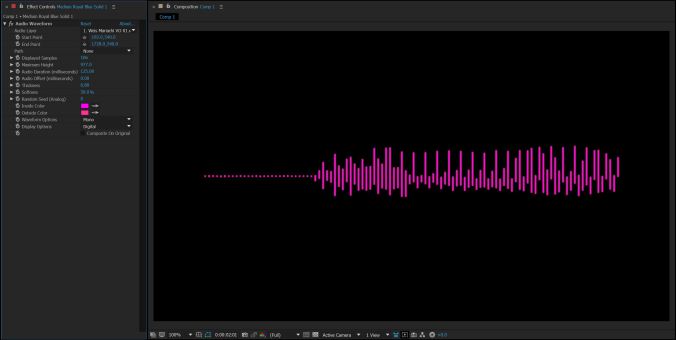
This is a neat effect for quickly and easily creating an audio waveform. It should be applied to a solid or other visual layer – not the audio layer itself. Once the effect is applied, you can choose the appropriate audio layer from the first dropdown menu. There are a few different styles to choose from and define the color, size, and position of the waveform. If the waveform is too small or too large, change the “Maximum Height” property.
Shatter (Simulation)
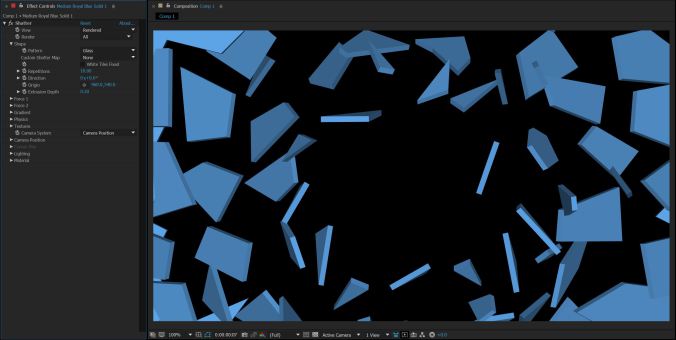
There are several interesting “simulation” effects, but Shatter is one of the most potentially useful. While it doesn’t give you all the control that 3D programs do, the Shatter effect allows you to simulate the process of an object breaking apart. There are presets for glass, bricks, puzzle pieces, and more. When you first apply the effect, the layer you apply it to will be replaced with a wireframe version – change the “View” mode to “Rendered” to see what the effect actually looks like. You can make adjustments to factors like force and simulated gravity to alter the effect. Shatter begins breaking apart a layer from the beginning of that layer, so you’ll have to be thoughtful with how you use it.
Fractal (Generate)
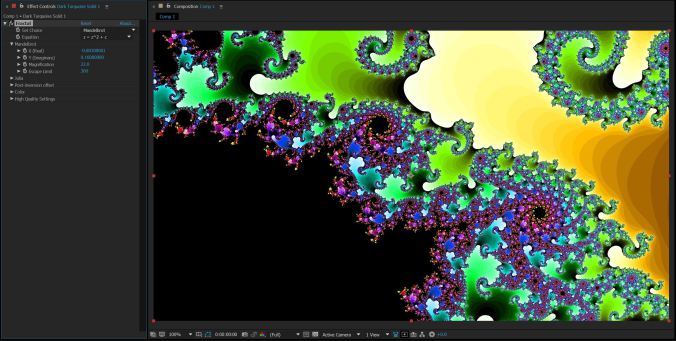
Not to be confused with Fractal Noise, the Fractal effect generates a fractal image using a mathematical formula. Fractals are patterns that can be zoomed into endlessly — the formula will continue to generate new details as you go. Why would you want to generate a fractal in After Effects? I’m honestly not sure, but they look pretty cool. You can change the type of fractal you generate using the “Set Choice” and “Equation” controls, then explore the fractal using the corresponding menus. Try using it when you need a weird abstract background or in conjunction with other effects.
CC Snowfall and CC Rainfall (Simulation)
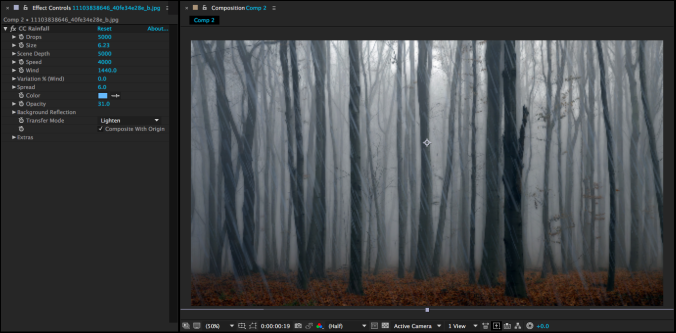
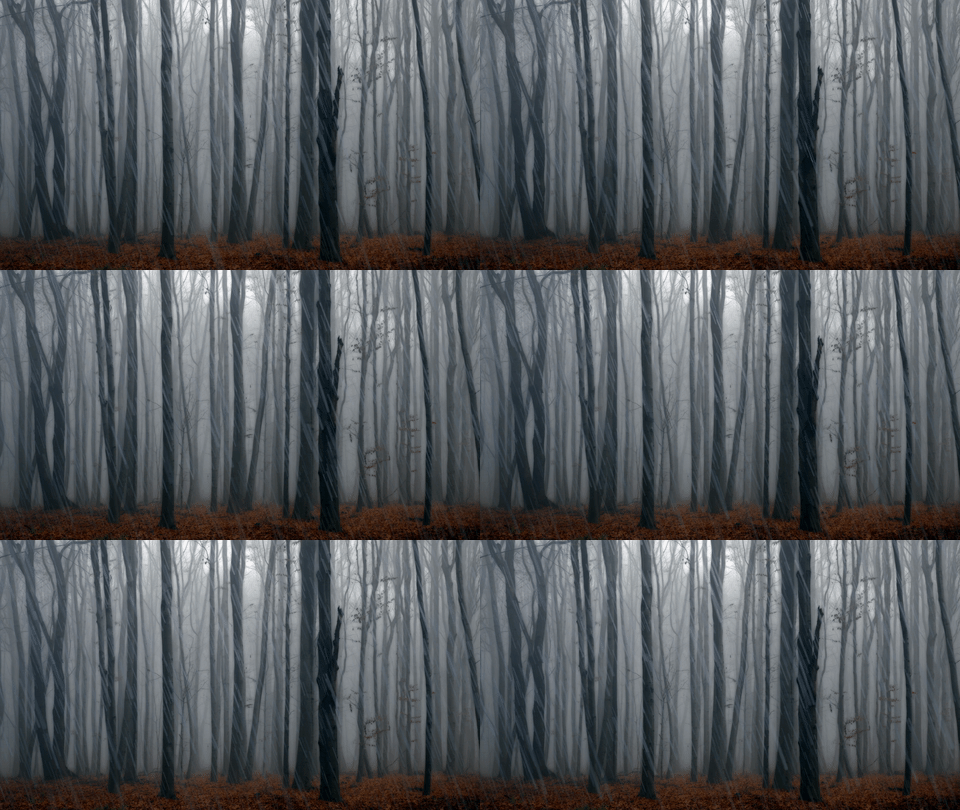
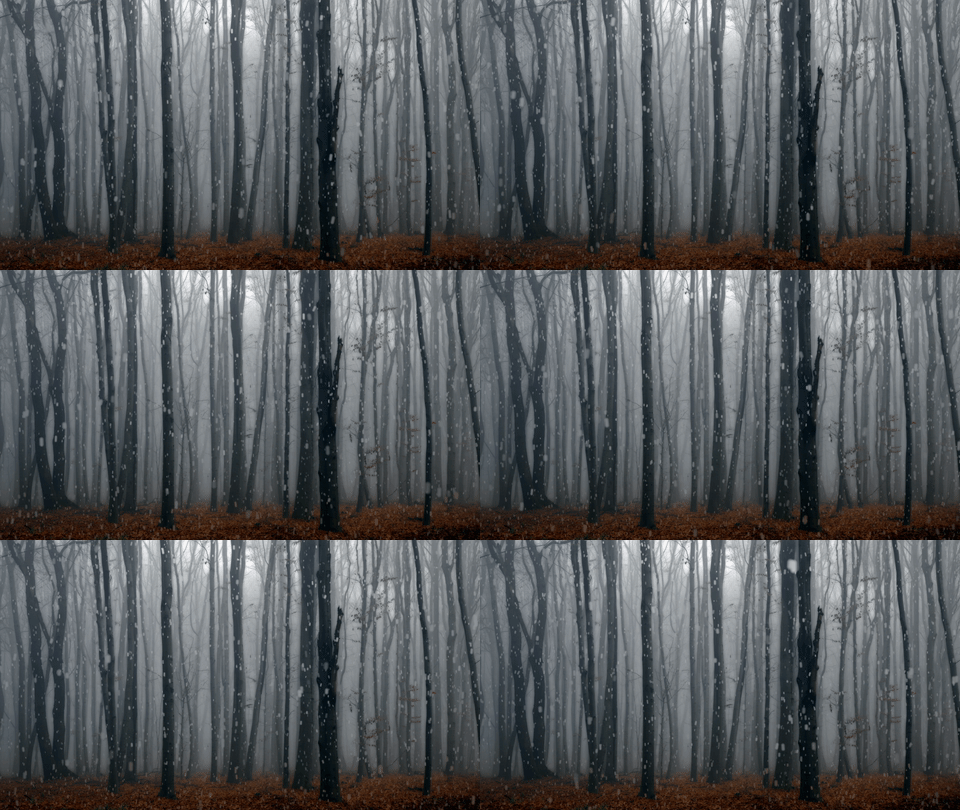
CC Snowfall and CC Rainfall can be used to quickly add “weather” to a scene. You can dial in settings like the size, opacity, color, and density of the effects as well as playing with forces like wind and random variation. Both effects look pretty good at their default settings, though. Note that by default the effects are composited on top of a layer, so you should either pre-compose your scene and then add the effect to the resulting composition or apply the effect to a solid and uncheck the “Composite With Original” box.
Advanced Lightning (Generate)
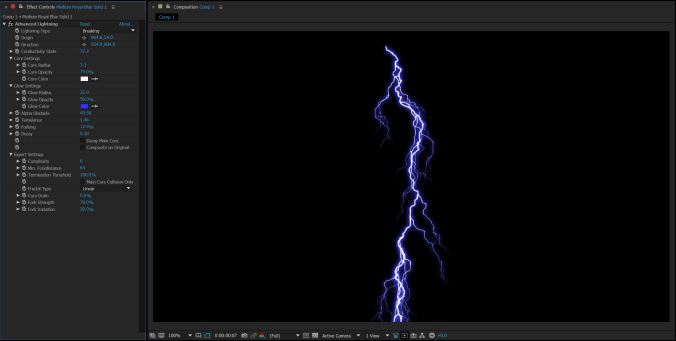
Rounding out the weather effects is Advanced Lightning, which is just like regular lightning, but with a way cooler name. In all seriousness, After Effects does a pretty solid job of simulating lighting. There are several different types to choose from and you can define the size, color, and how many “forks” the bolt has. If you want the lightning to crackle, keyframe the “Conductivity State.”
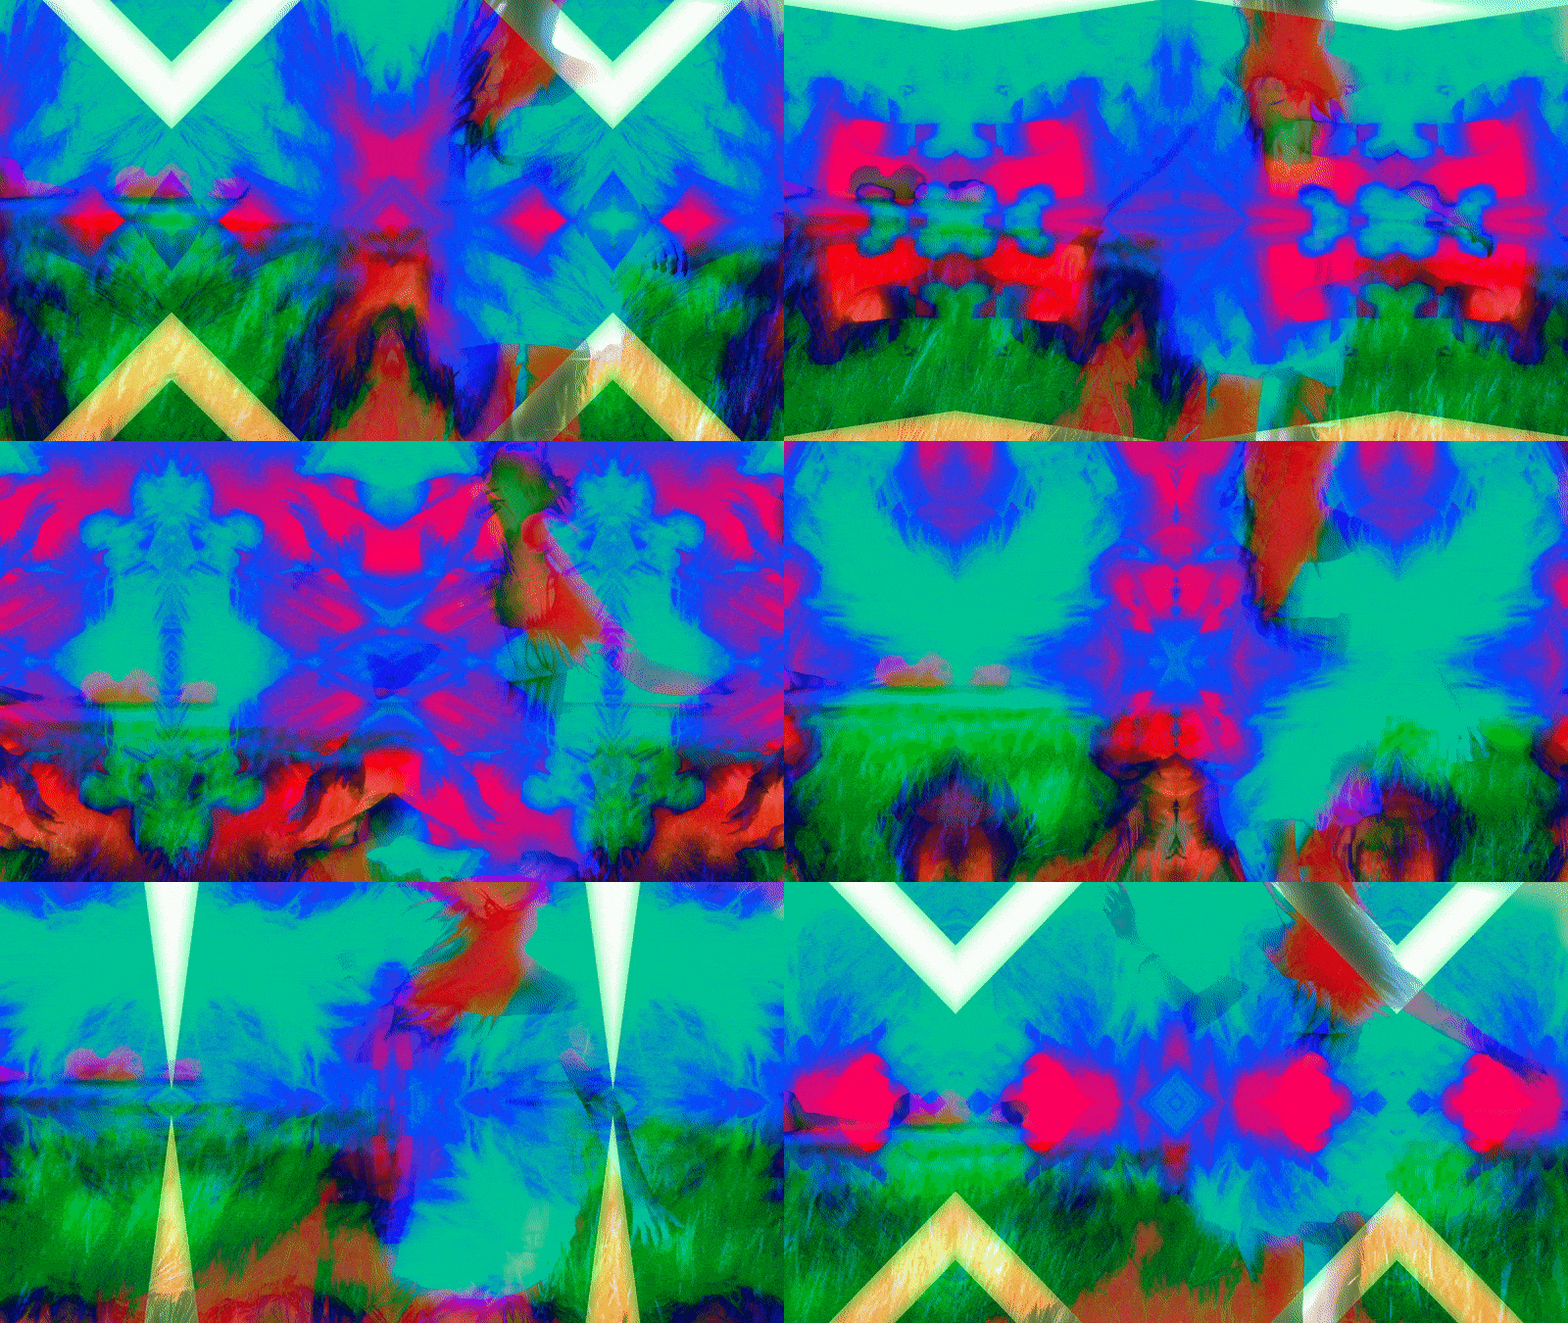
Project 7: Stock Footage Remix

Download this clip; it’s fairly generic stock footage of a woman running through a field in slow motion. For this week’s assignment, I’d like you to take that clip and transform it into something unique. Use effects, transfer modes, track mattes, transform properties, or any of the other tools we’ve covered in class so far to alter the clip. You can duplicate the layer and/or add text solids, shapes, and other media.
The purpose of this assignment is to get you to really dig into the library of effects that After Effects has to offer. You must utilize at least four different effects, but you are encouraged to use more. You can use the ones discussed in this week’s lesson – or find new ones to experiment with. Try a bunch out to see what they do. If an effect doesn’t seem to do anything after you play with its settings, move on to another one – there are a ton to try out. Get creative and have fun with this – make it funny, weird, scary, or some combination thereof! Render the finished clip as an H.264 QuickTime movie and send it my way before next week’s class.
